Installing Proxmox on a Raspberry Pi to run Virtual Machines on it

Source
- Type: webpage
- Origin: https://itsfoss.com/install-proxmox-raspberry-pi/
- Imported: 2026-06-11
- Images: 9 downloaded to
./assets/itsfoss-install-proxmox-raspberry-pi/(hero, repo setup, install, Postfix, SSL warning, login, subscription notice, dashboard)
Content
Proxmox Virtual Environment (VE) is an open-source platform for managing virtual machines and containers through a web interface. Proxmox is not officially supported on Raspberry Pi, but third-party ARM repositories make experimental installs possible.
This guide targets lightweight experimentation, not heavy VM workloads. A Raspberry Pi 4 or 5 with ample RAM is recommended.
Requirements
- Raspberry Pi 4 or 5 (8 GB RAM recommended)
- MicroSD card (Class 10 or better)
- 64-bit Raspberry Pi OS Lite (Bookworm)
- Power supply and Ethernet cable (wired preferred)
Step 1: Start with a clean slate
Use a fresh Raspberry Pi OS Lite 64-bit (Bookworm) install. Older or cluttered systems can cause package dependency errors during install.
Flash the image with Raspberry Pi Imager.
Step 2: Update and upgrade
sudo apt update && sudo apt upgrade -yInstall curl if missing:
sudo apt install curlStep 3: Set a static IP address
Proxmox needs a stable IP. Prefer a DHCP reservation on your router.
Alternatively, edit /etc/dhcpcd.conf:
sudo nano /etc/dhcpcd.confAdd:
interface [INTERFACE]
static ip_address=[STATIC IP ADDRESS YOU WANT]/24
static routers=[ROUTER IP]
static domain_name_servers=[DNS IP]
Reboot and verify:
sudo reboot now
hostname -I
Step 4: Modify /etc/hosts
Map the hostname to the Pi’s static IP:
sudo nano /etc/hostsChange:
127.0.1.1 raspberrypiTo (example):
192.168.1.9 raspberrypiStep 5: Set the root password
Proxmox web login uses root:
sudo passwd rootStep 6: Add the GPG key
Third-party ARM packages are served from the apqa.cn mirror:
curl -L https://mirrors.apqa.cn/proxmox/debian/pveport.gpg | sudo tee /usr/share/keyrings/pveport.gpg >/dev/nullStep 7: Add the repository
echo "deb [arch=arm64 signed-by=/usr/share/keyrings/pveport.gpg] https://mirrors.apqa.cn/proxmox/debian/pve bookworm port" | sudo tee /etc/apt/sources.list.d/pveport.list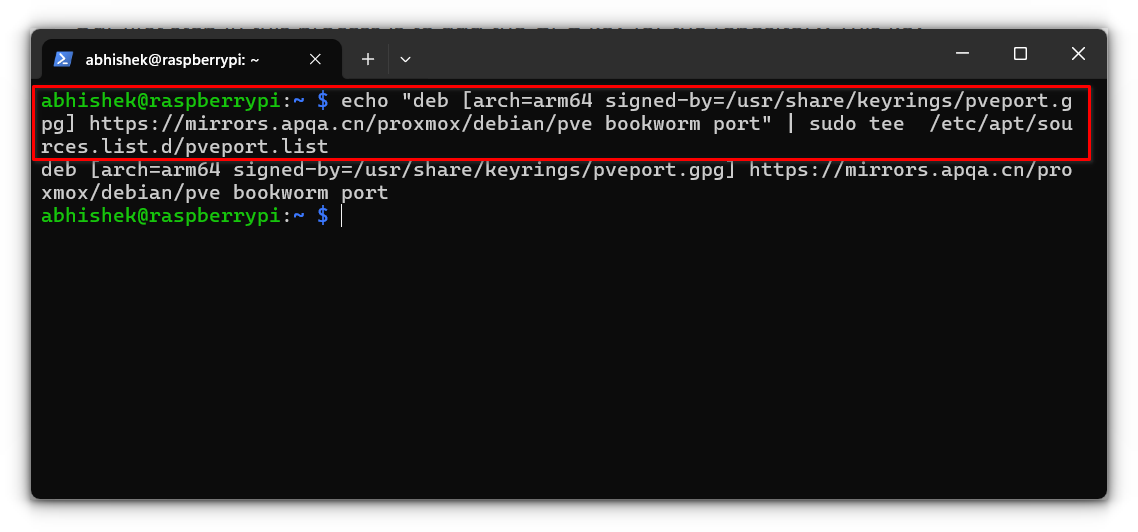
Step 8: Update the package list
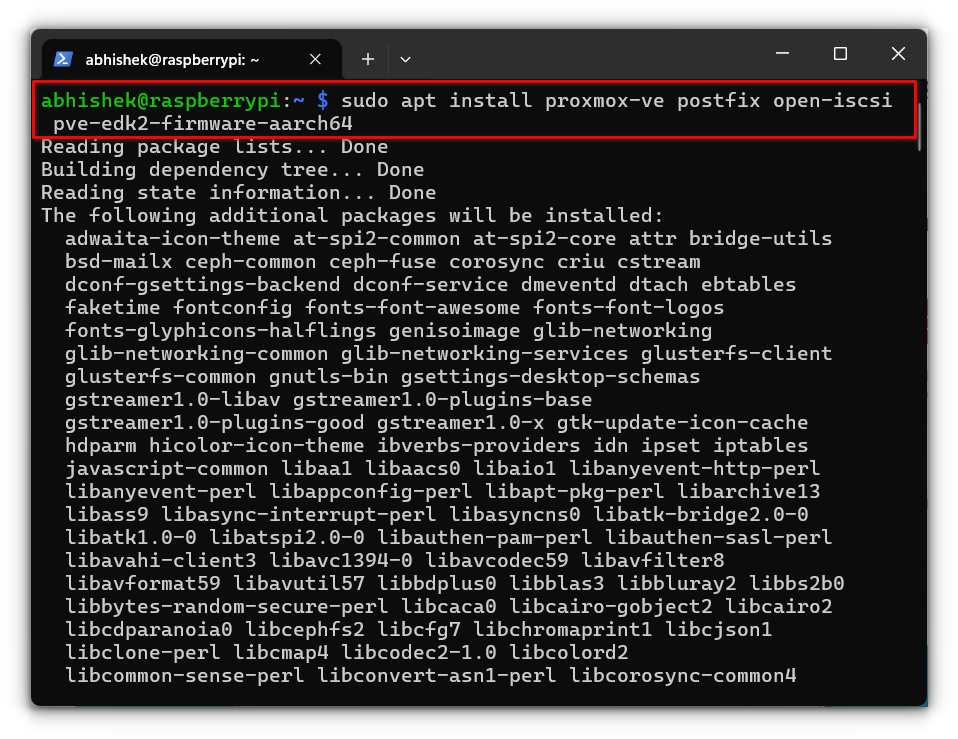
sudo apt updateStep 9: Install Proxmox
sudo apt install proxmox-ve postfix open-iscsi ifupdown2 pve-edk2-firmware-aarch64Package roles:
- proxmox-ve — core Proxmox server and web UI
- postfix — local mail for alerts (choose Local only if unsure)
- open-iscsi — network storage support
- ifupdown2 — network interface management for bridges
- pve-edk2-firmware-aarch64 — ARM64 VM firmware
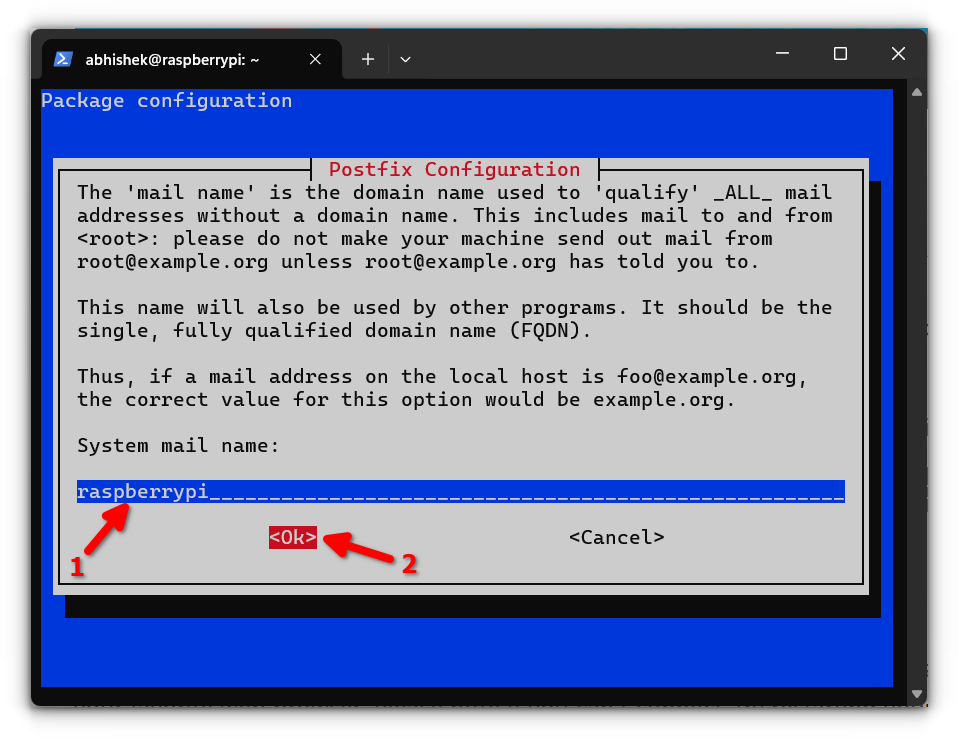
During Postfix setup:
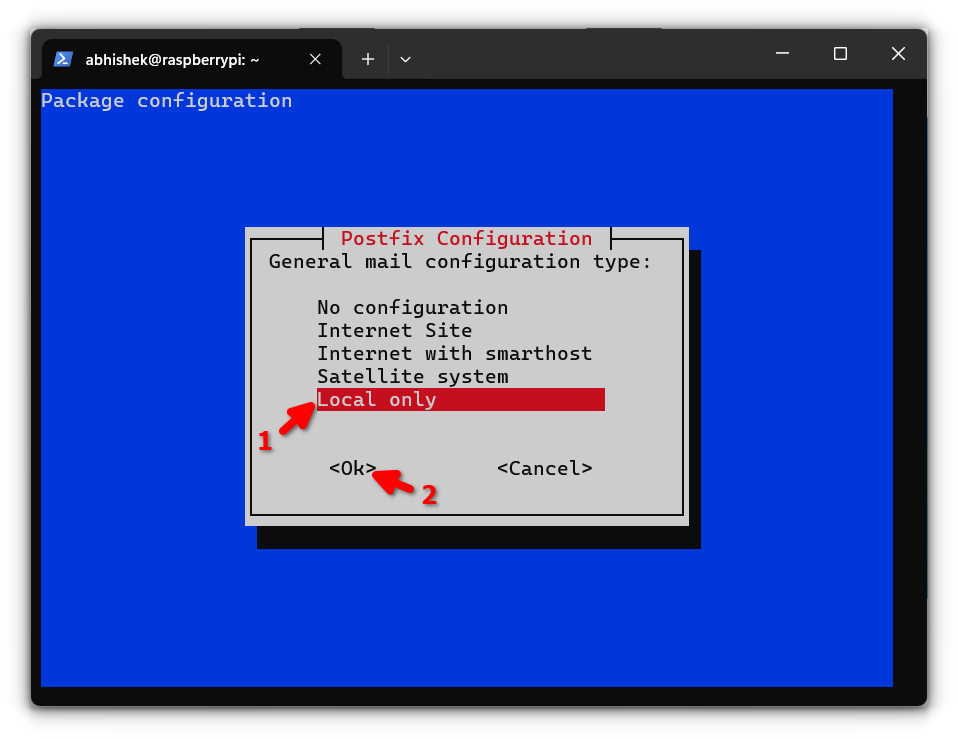
Use the default system mail name if unsure:
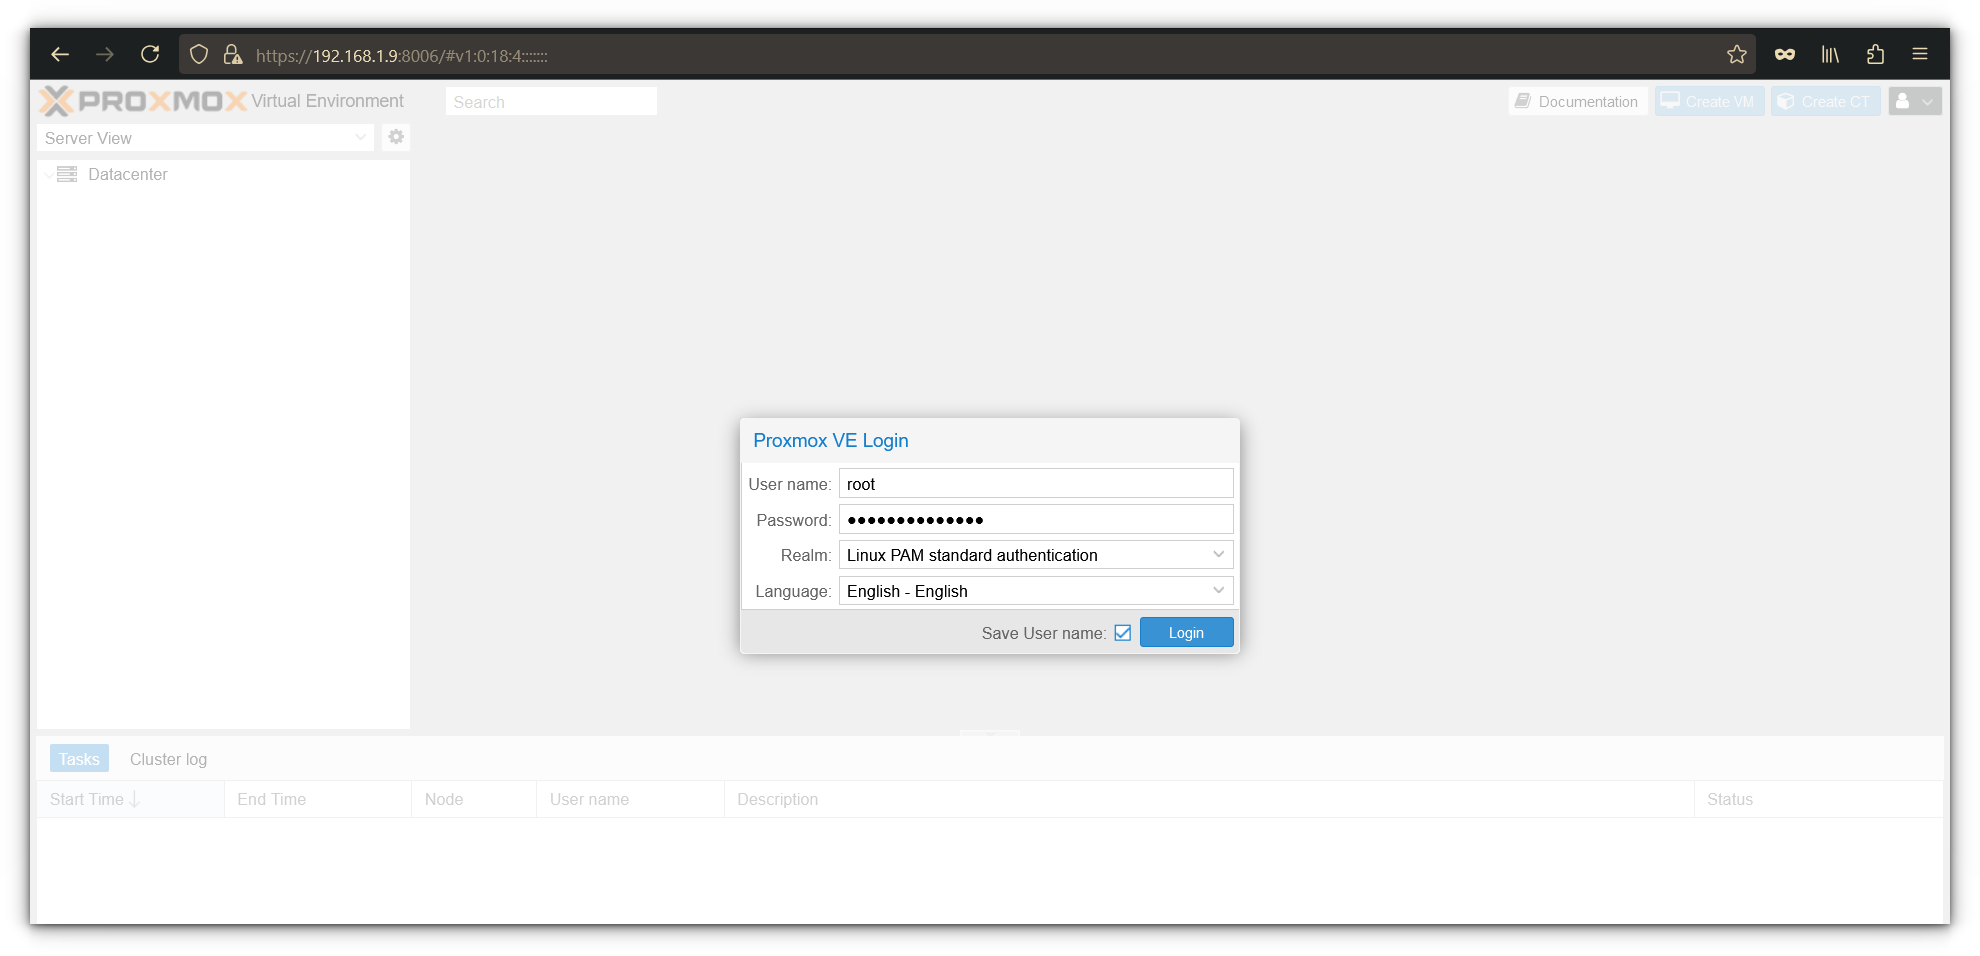
Step 10: Access the Proxmox web interface
Open:
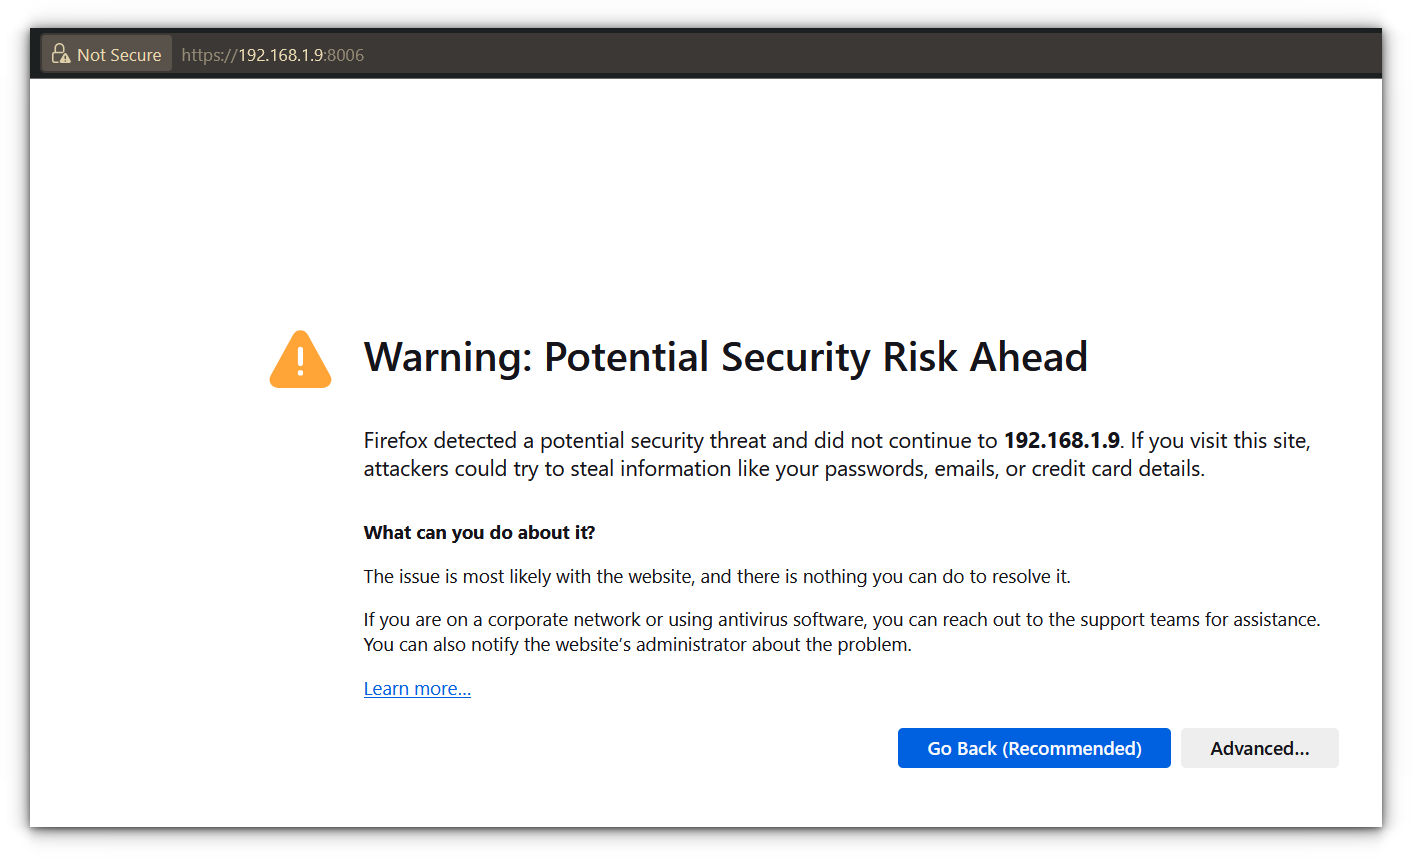
https://<IPADDRESS>:8006Expect a self-signed certificate warning:
Log in as root with the password set in Step 5:
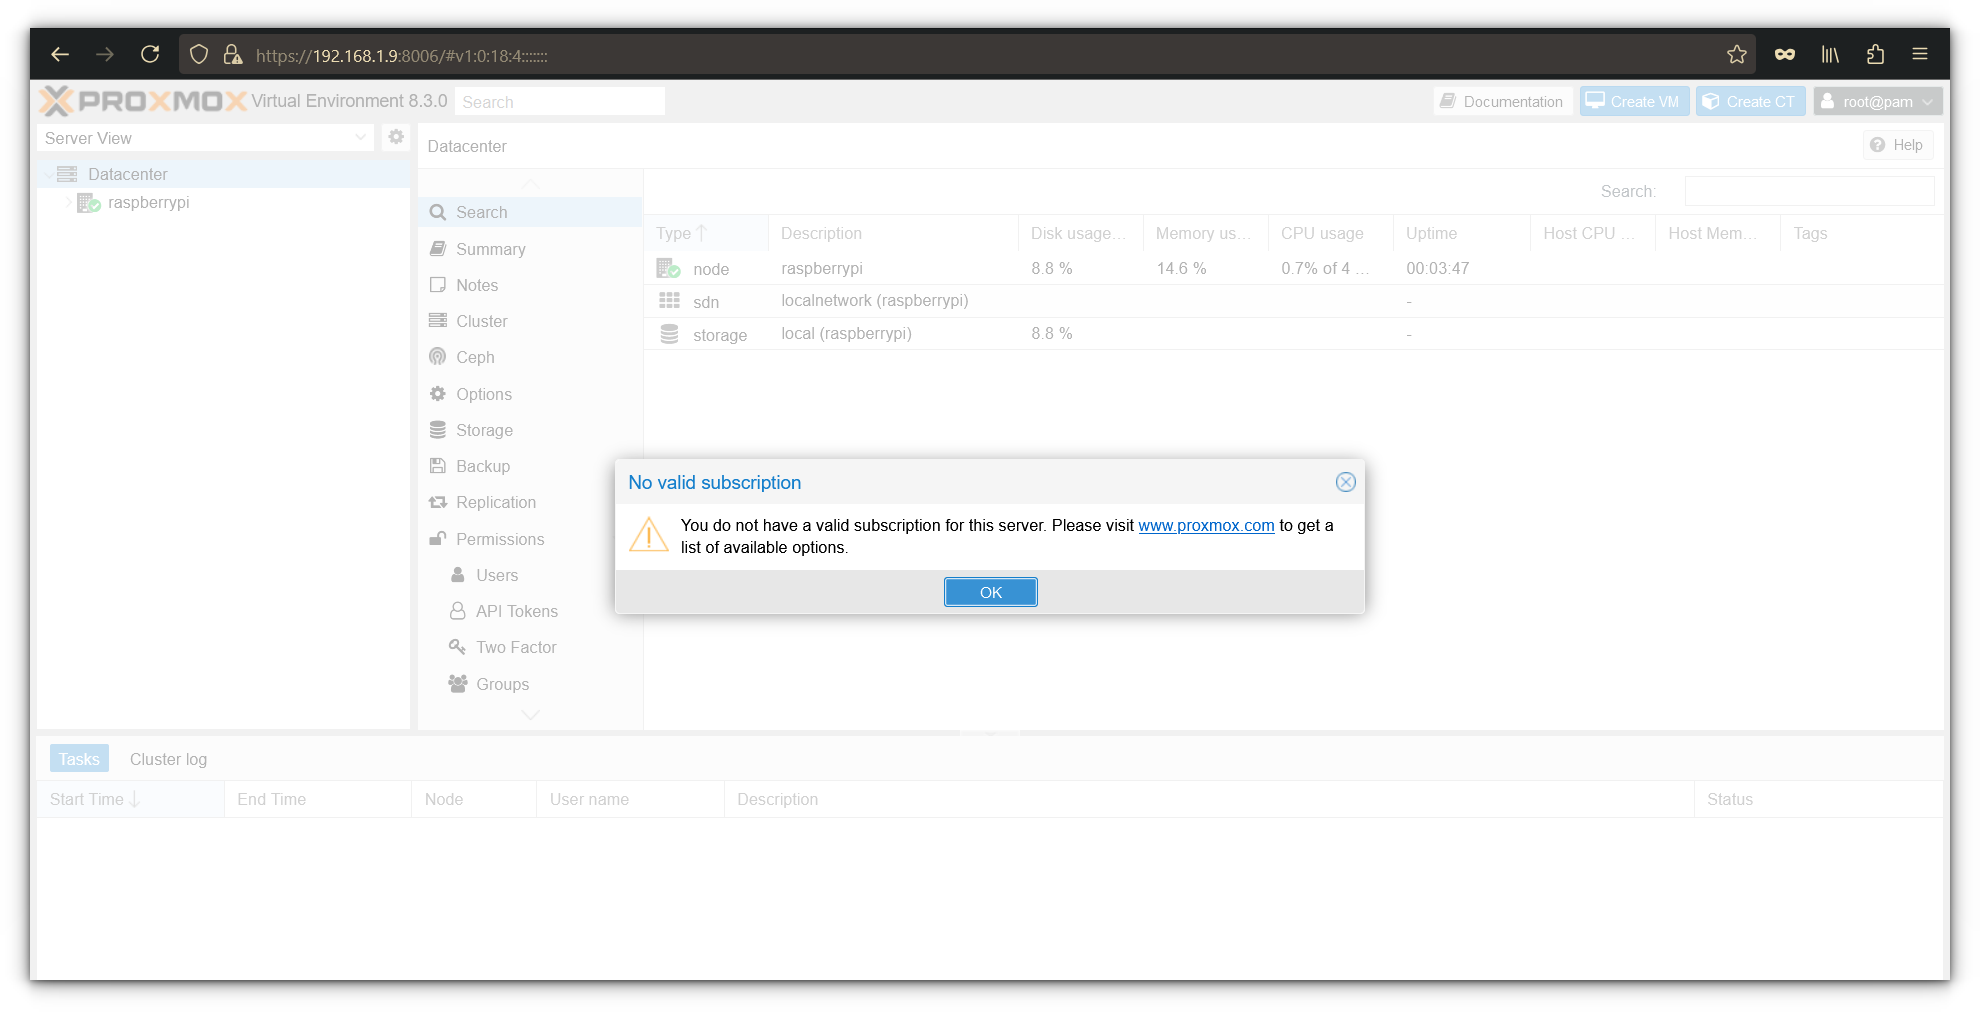
Dismiss the invalid subscription notice (free/community use):
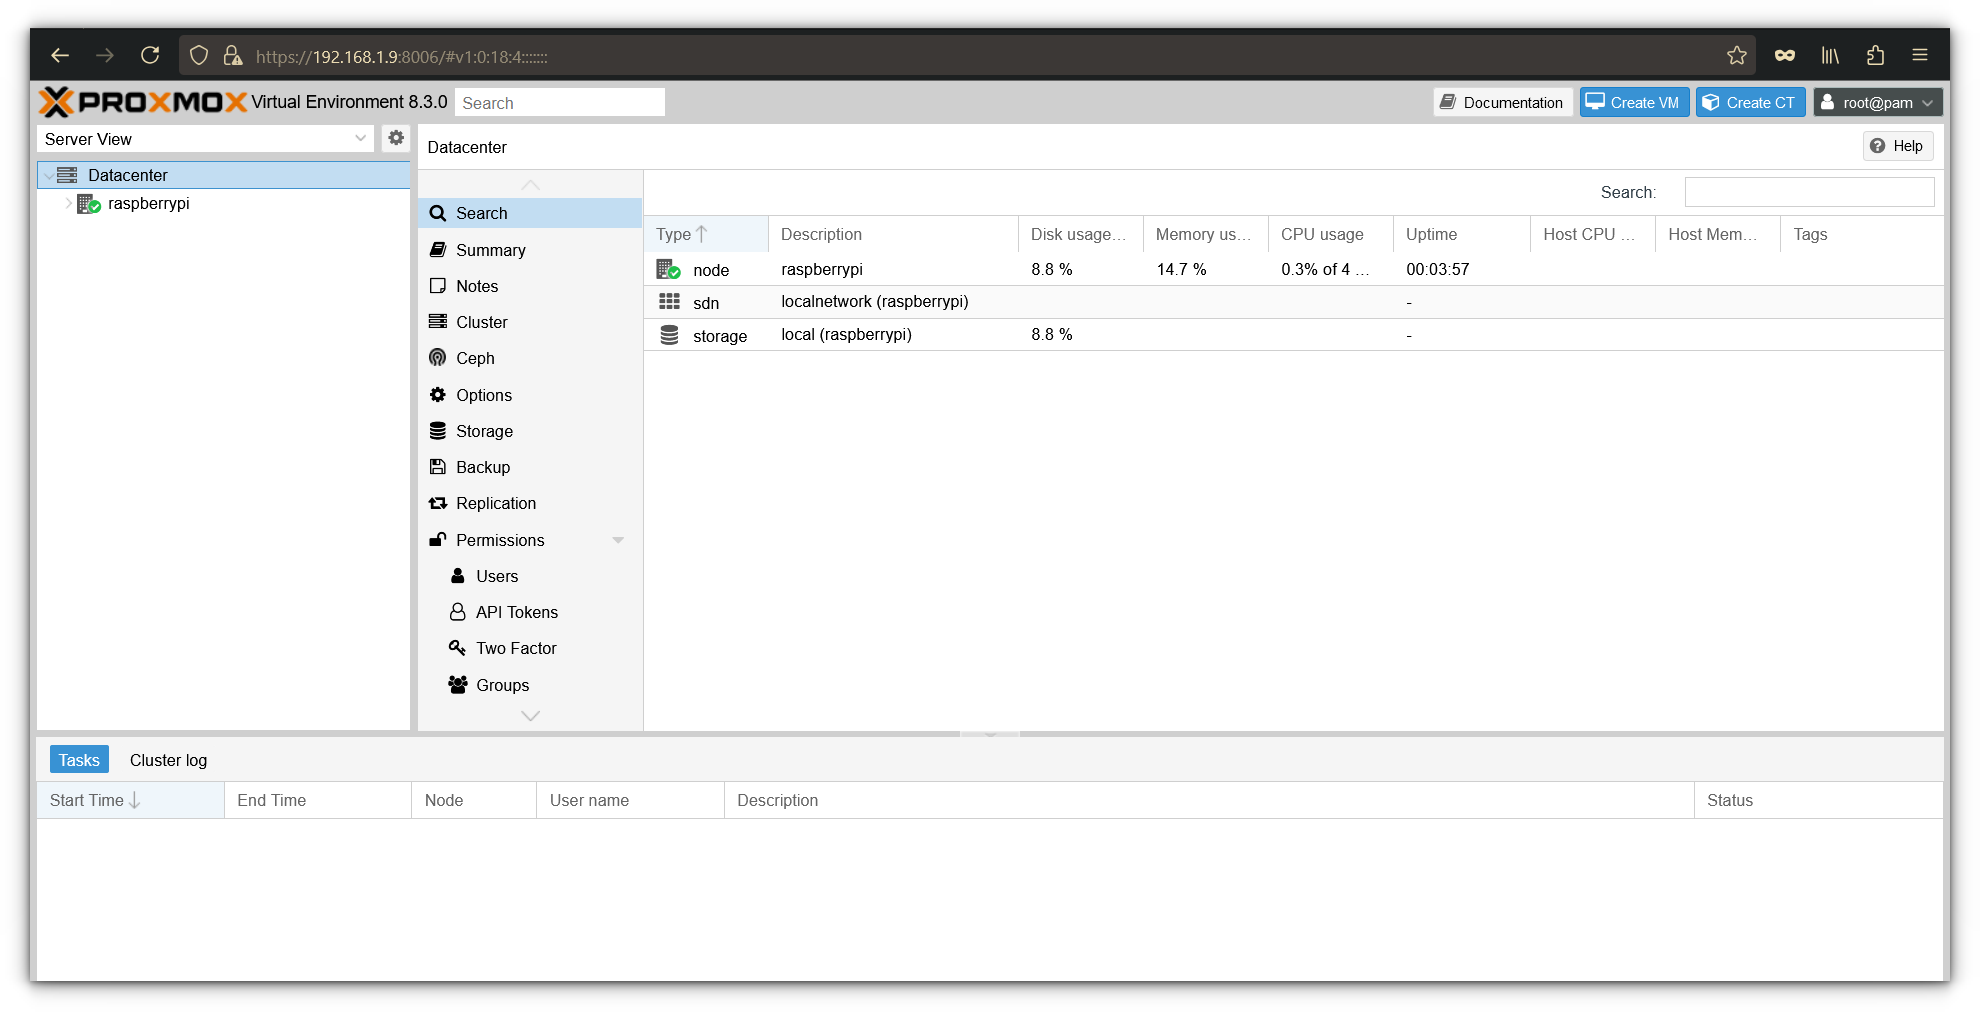
The dashboard shows CPU, memory, and storage stats. Use Create VM to start a new virtual machine:
Key Takeaways
- Proxmox on Pi is experimental — use a clean 64-bit Bookworm Lite image.
- Set a static IP and align
/etc/hostswith that address before install. - This guide uses the apqa.cn
pveportrepository and GPG key (pveport.gpg). - Web UI:
https://<pi-ip>:8006as userroot; ignore the subscription warning on first login. - Keep VM workloads light; Pi 4/5 with 8 GB RAM is the practical hardware target.